# Administration
In all Cytomine instances, there is specific users with extended permissions that are able to manage their Cytomine instance.
# Prerequisite
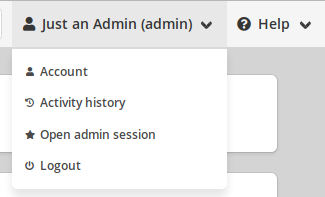
You must have an ADMIN account (see the Users role section for details about users roles) and have activated your administrator section using the "Open admin session" option in the account drown down list in the top right corner.
# How to go to the admin panel
First, we need to activate the "admin mode" by clicking on the button "Open Admin Session".
You have now a red label "Admin" next to your username and an "Admin" button is now available in the top navigation bar.
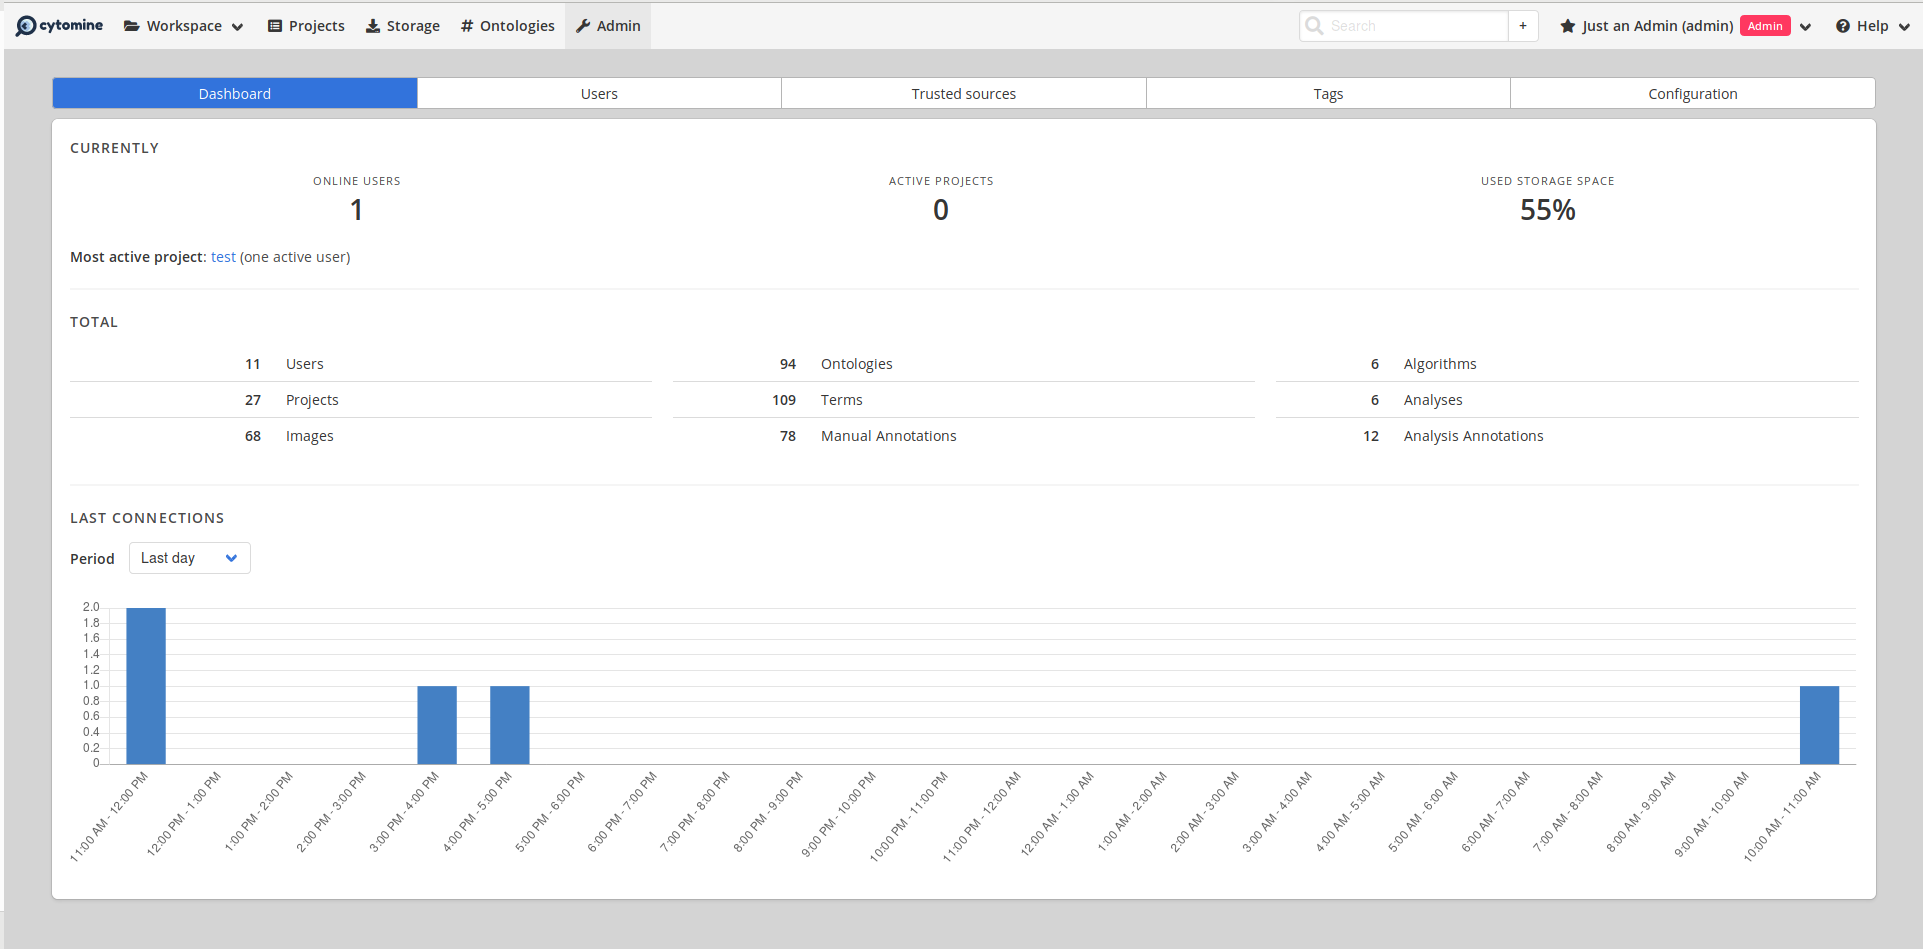
# Dashboard
The first screen of the administrator section is the dashboard of the whole Cytomine platform containing information about online users, active project, used storage space and the number of all the image, project, annotations, etc. though the platform and graphs displaying the last connections.
# Users
This panel, contains the list of all the accounts on your Cytomine instance with their role (User, Guest, Admin or SuperAdmin).
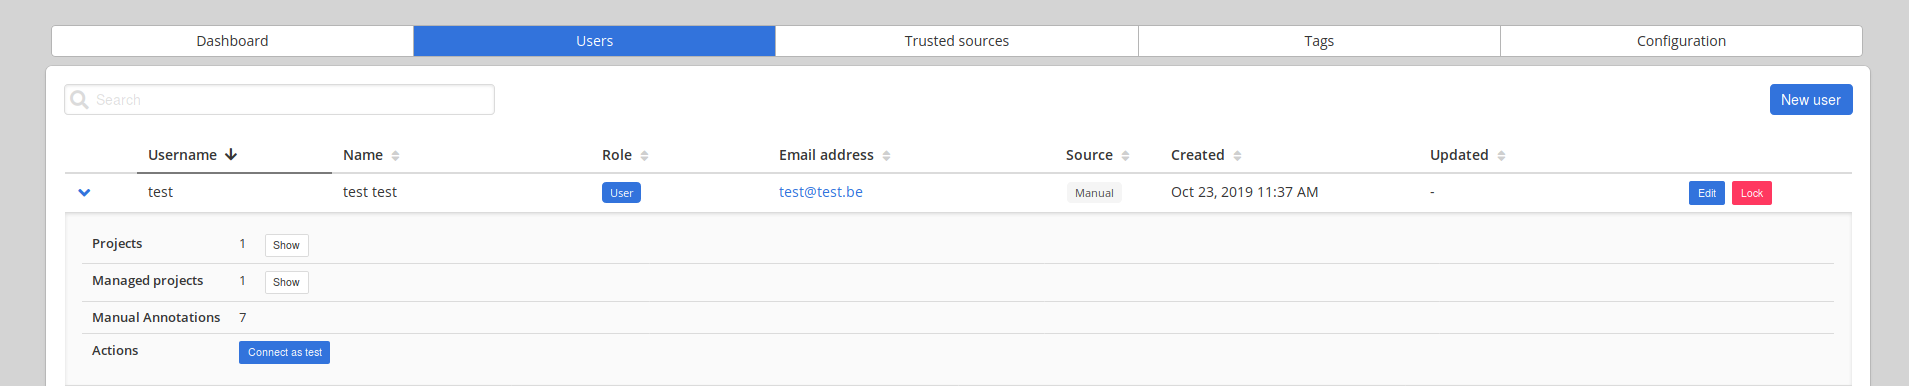
For each user, you can edit its information, lock the user (it will not be able to connect on Cytomine unless you unlock it) and display some details.
In the details, you can be connected as the selected user on Cytomine, see its projects, annotations and so on.
# Trusted sources
A trusted source is a validated source hosting external algorithms. This is used to add softwares and their updates into your instance.
In this panel, you will be able to manage the trusted sources registered into your Cytomine instance.

# Tags
This panel contains all tags defined trough the instance.
# Configuration
This panel contains all the global configurations of the instance. Currently, only the welcome message is editable.